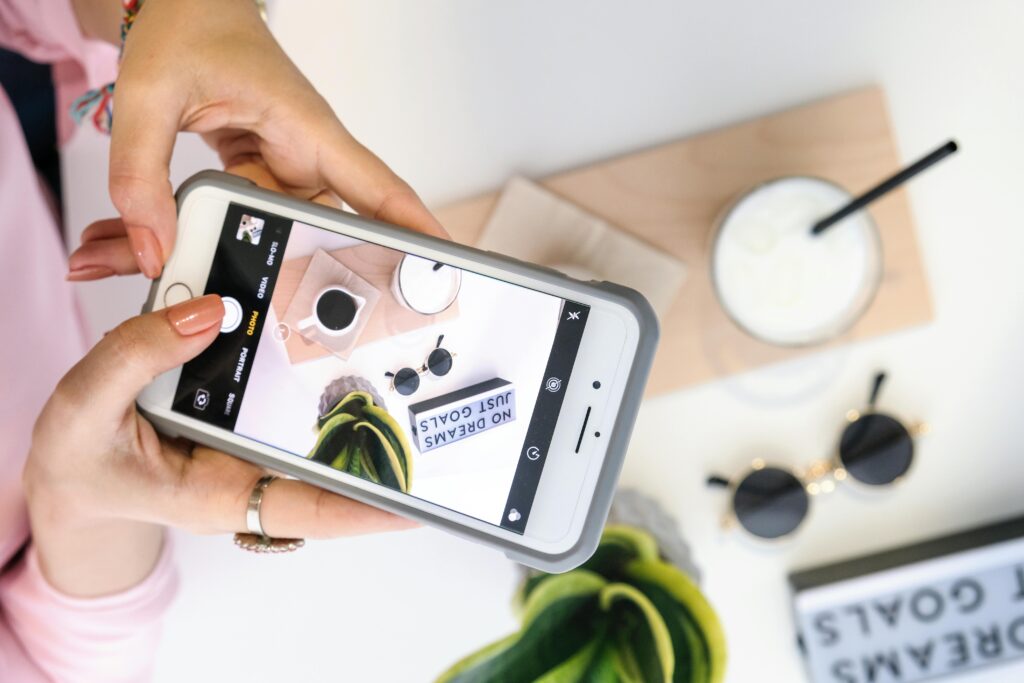
Smartphone cameras have evolved far beyond simple point-and-shoot tools. With Pro Mode (also called Manual Mode), you can take full control of your camera’s settings, allowing for professional-level adjustments that drastically improve image quality.
Many users stick to Auto Mode, unaware of the creative possibilities Pro Mode unlocks. Whether you’re shooting low-light scenes, fast-moving subjects, or stunning landscapes, understanding manual controls will help you capture better photos consistently.

This guide will deep-dive into every aspect of Pro Mode, from basic adjustments to advanced techniques. By the end, you’ll know exactly how to manipulate ISO, shutter speed, white balance, focus, and exposure like a pro.
What Is Pro Mode and Why Should You Use It?
Definition of Pro Mode
Pro Mode is a feature in most high-end smartphones that allows manual control over camera settings. Unlike Auto Mode, where the phone makes all decisions, Pro Mode puts you in charge.
Key Benefits of Using Pro Mode
- Better Low-Light Performance – Auto Mode often struggles in dim lighting, producing grainy or blurry shots. Pro Mode lets you optimize ISO and shutter speed for cleaner images.
- More Creative Control – Want silky-smooth waterfalls or sharp action shots? Adjusting shutter speed manually makes it possible.
- Accurate Colors – Auto white balance can misjudge lighting, leading to unnatural tones. Pro Mode allows precise color correction.
- Sharper Focus – Manual focus ensures critical elements (like a subject’s eyes) are perfectly sharp.
- Higher Dynamic Range – Shooting in RAW (available in some Pro Modes) preserves more detail for editing.
Which Smartphones Have Pro Mode?
- Samsung Galaxy (S23, Note, Z Fold series) – Built-in Pro Mode with RAW support.
- Google Pixel (6, 7, 8 series) – Requires third-party apps like “Manual Camera.”
- OnePlus (11, 10 Pro, 9 Pro) – Strong manual controls.
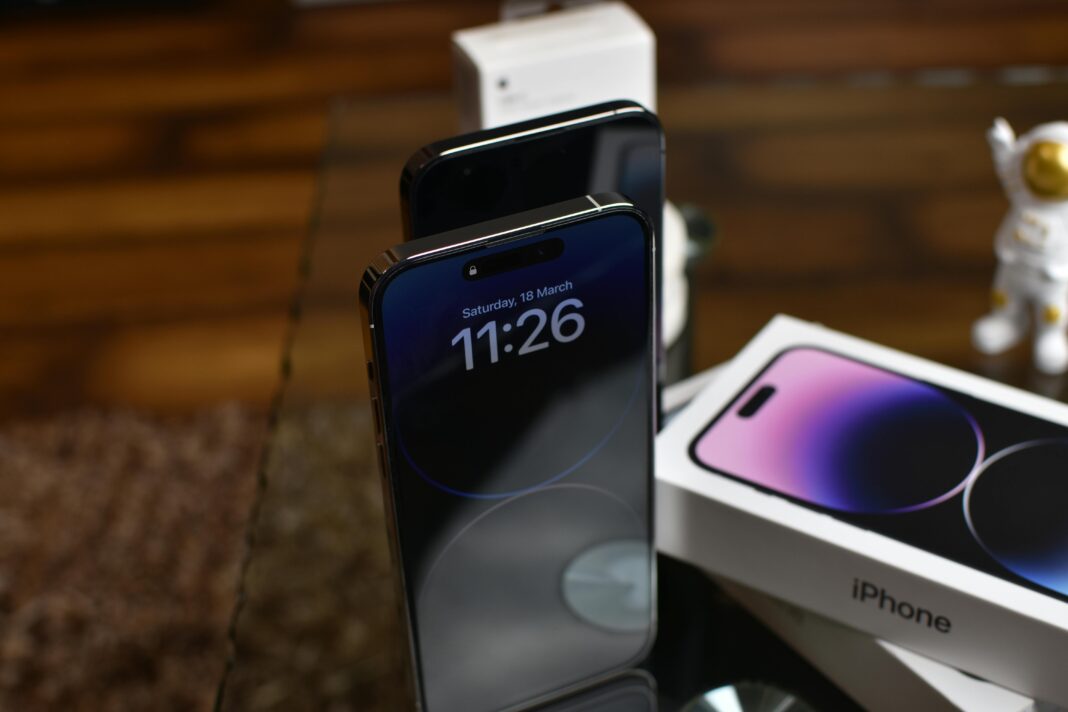
- iPhone (14 Pro, 15 Pro) – No native Pro Mode, but apps like Halide or ProCamera add manual controls.
How to Access Pro Mode on Different Phones
1. Samsung Galaxy Phones
- Open the Camera app.
- Swipe to “More” and select “Pro”.
- Adjust settings like ISO, shutter speed, and white balance.
2. Google Pixel Phones
- The stock camera app lacks Pro Mode, but you can use:
- Manual Camera (for basic adjustments).
- Adobe Lightroom Mobile (for RAW shooting).
3. OnePlus Phones
- Open the Camera app.
- Swipe to “Pro” mode.
- Full manual controls are available.
4. iPhones
- Apple doesn’t include a native Pro Mode, but these apps work:
- Halide (best for RAW and manual controls).
- ProCamera (advanced exposure adjustments).
Understanding Pro Mode Settings in Depth
1. ISO: Controlling Light Sensitivity
What ISO Does:
ISO determines how sensitive the camera sensor is to light. A low ISO (100-400) is ideal for bright conditions, while a high ISO (800+) helps in low light but introduces noise.
When to Use Different ISO Levels:
- ISO 100-200 – Bright daylight (minimal noise).
- ISO 400-800 – Overcast days or indoor lighting.
- ISO 1600+ – Only for very dark scenes (expect grain).
Pro Tip: Always use the lowest possible ISO to maintain image quality.
2. Shutter Speed: Freezing or Blurring Motion
What Shutter Speed Does:
Shutter speed controls how long the sensor is exposed to light.
Fast Shutter Speed (1/500s or higher):
- Freezes fast-moving subjects (sports, pets, vehicles).
- Reduces motion blur from hand shake.
Slow Shutter Speed (1/30s or slower):
- Creates motion blur (waterfalls, light trails).
- Requires a tripod to avoid camera shake.
Example Uses:
- 1/1000s – Capturing a flying bird sharply.
- 1/4s – Smooth water flow in waterfalls.
- 30s – Starry night photography (with tripod).
3. White Balance: Correcting Color Temperature
What White Balance Does:
Adjusts the color tones in your photo to match the lighting. Auto white balance often gets it wrong, leading to unnatural colors.
Manual White Balance Settings:
- Daylight (5000-5500K) – Neutral colors under sunlight.
- Cloudy (6000-6500K) – Warmer tones to counteract gray skies.
- Tungsten (2500-3000K) – Corrects yellow indoor lighting.
- Fluorescent (4000-4500K) – Fixes greenish office lighting.
Pro Tip: Use a gray card or a white sheet of paper to set custom white balance for perfect colors.
4. Manual Focus: Achieving Razor-Sharp Images
What Manual Focus Does:
Lets you manually adjust focus for precision.
When to Use Manual Focus:
- Macro Photography – Auto focus may struggle with tiny subjects.
- Low Light – Auto focus can hunt in darkness.
- Portraits – Ensures eyes are tack-sharp.
How to Use It:
- Drag the focus slider until the subject is clear.
- Use focus peaking (if available) to highlight sharp areas.
5. Exposure Compensation: Balancing Brightness
What Exposure Compensation Does:
Manually brightens or darkens the image before taking the shot.
When to Adjust It:
- +1 to +2 EV – For backlit subjects (prevents silhouettes).
- -1 to -2 EV – For high-contrast scenes (avoids blown-out skies).
Advanced Pro Mode Techniques
1. Long Exposure Photography
What It Does:
Uses slow shutter speeds (1 second or longer) to create stunning effects.
Best Subjects for Long Exposure:
- Light Trails – Car headlights at night (5-30s exposure).
- Water Motion – Smooth, misty waterfalls (1/4s to 2s).
- Starry Skies – Milky Way shots (15-30s with low ISO).
Required Gear:
- Tripod (essential to avoid blur).
- Remote shutter (or use a timer to prevent shake).
2. Shooting in RAW for Maximum Editing Flexibility
Benefits of RAW:
- Retains more detail than JPEG.
- Allows deeper adjustments in Lightroom or Snapseed.
How to Enable RAW in Pro Mode:
- Samsung/OnePlus: Toggle RAW in settings.
- iPhone (Halide): Shoot in DNG format.
3. Using Histograms for Perfect Exposure
What a Histogram Shows:
A graph representing light distribution in an image.
How to Read It:
- Peak on the left = Underexposed (too dark).
- Peak on the right = Overexposed (too bright).
- Balanced curve = Ideal exposure.
Pro Tip: Avoid clipping (spikes at the edges), which means lost detail.
Common Mistakes in Pro Mode (And How to Fix Them)
1. Using Too High ISO (Noisy Images)
Fix: Lower ISO and use a slower shutter speed or tripod.
2. Slow Shutter Speed Without a Tripod (Blurry Photos)
Fix: Use a tripod or increase ISO to allow faster shutter speeds.
3. Ignoring White Balance (Unnatural Colors)
Fix: Manually set white balance based on lighting conditions.
4. Overlooking RAW Format (Less Editing Flexibility)
Fix: Always shoot in RAW when possible for better post-processing.
Frequently Asked Questions (FAQ)
Q: Can I use Pro Mode for video recording?
A: Most Pro Modes are for photos only, but apps like Filmic Pro offer manual video controls.
Q: Why are my Pro Mode photos coming out too dark?
A: Check if shutter speed is too fast or ISO too low. Increase exposure compensation if needed.
Q: Which phone has the best Pro Mode?
A: Samsung Galaxy S23 Ultra and Google Pixel 8 Pro have excellent manual controls.
Q: How do I avoid grainy photos in low light?
A: Use the lowest possible ISO, a tripod, and slower shutter speeds.
Conclusion
Pro Mode is a game-changer for smartphone photography. By mastering ISO, shutter speed, white balance, and focus, you can take images that rival professional cameras.

