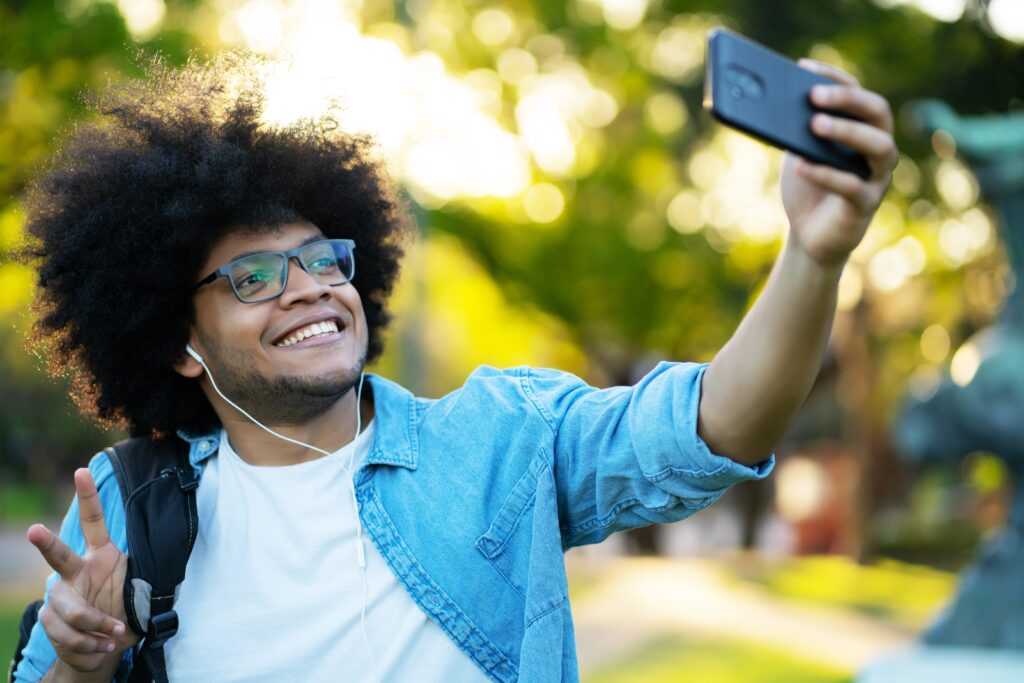
Smartphone cameras have become incredibly powerful, capable of producing images that rival professional DSLRs in many situations. However, simply having a good camera isn’t enough—knowing how to use it properly makes all the difference. Whether you’re an aspiring photographer, a social media enthusiast, or someone who just wants better vacation photos, this guide will teach you everything you need to know to take stunning, professional-quality photos with just your phone.

We’ll cover:
- How to maximize your phone’s camera settings
- Lighting techniques that make a huge difference
- Composition rules used by professional photographers
- Advanced editing tricks to enhance your photos
- Must-have accessories for serious mobile photographers
- Common mistakes and how to avoid them
By the end of this guide, you’ll have the knowledge to take your mobile photography to the next level.
1. Understanding Your Phone’s Camera Settings
Most people use their phone’s camera in full auto mode, never realizing the full potential of their device. Learning how to manually adjust settings gives you far more control over your photos.
1.1. Resolution and Aspect Ratio
- Resolution: Always shoot at the highest possible resolution. This gives you more detail and flexibility when cropping or printing.
- Aspect Ratio:
- 4:3 – The standard for most phone cameras, providing the best balance of detail and framing.
- 16:9 – Good for widescreen displays but crops the top and bottom of the image.
- 1:1 (Square) – Best for Instagram but limits composition options.
1.2. HDR Mode (High Dynamic Range)
HDR blends multiple exposures to capture details in both shadows and highlights.
- When to Use HDR:
- Landscapes with bright skies and dark foregrounds
- Backlit portraits (prevents faces from being too dark)
- High-contrast scenes (e.g., sunsets, indoor shots with windows)
- When to Avoid HDR:
- Fast-moving subjects (can cause ghosting)
- Low-light scenes (may increase noise)
1.3. Manual (Pro) Mode
If your phone has a Pro mode, use it to take full control:
- ISO: Controls sensor sensitivity. Lower ISO (50-200) for bright scenes; higher (400-800) for low light (but introduces noise).
- Shutter Speed:
- Fast (1/500s or higher) – Freezes motion (sports, pets).
- Slow (1/30s or slower) – Creates motion blur (light trails, waterfalls). Use a tripod!
- White Balance: Adjusts color temperature. Auto works fine, but manual settings (Daylight, Cloudy, Tungsten) ensure accurate colors.
- Focus: Manual focus helps in macro shots or when autofocus struggles (e.g., glass reflections).
1.4. Focus and Exposure Lock
- Tap and hold on your subject to lock focus and exposure. This prevents the camera from readjusting when you move.
- Adjust exposure manually by sliding the brightness slider up or down after locking.
2. Mastering Lighting for Professional Results
Lighting can make or break a photo. Even the best phone cameras struggle in poor light, so learning how to manipulate light is crucial.
2.1. Natural Light: The Best Free Light Source
- Golden Hour (1 Hour After Sunrise / Before Sunset):
- Soft, warm, and directional light perfect for portraits and landscapes.
- Creates long shadows and a flattering glow.
- Blue Hour (Just Before Sunrise / After Sunset):
- Cool, diffused light ideal for cityscapes and moody shots.
- Midday Sun (Harsh Light):
- Avoid shooting in direct sunlight—shadows are too strong.
- If you must shoot, find shade or use a diffuser.
2.2. Artificial Light: How to Use It Properly
- Avoid On-Camera Flash: It creates harsh shadows and red-eye.
- Bounce Flash: Point an external light at a white wall or ceiling to soften it.
- Ring Lights & LED Panels:
- Great for portraits, product photography, and food shots.
- Adjust brightness and color temperature for best results.
2.3. Controlling Shadows and Highlights
- Use Reflectors: A simple white board or foil can bounce light onto shadows.
- Diffusers: Thin fabric or a professional diffuser softens harsh light.
- Backlighting Tricks:
- Silhouettes: Expose for the background, leaving the subject dark.
- Rim Lighting: Position light behind the subject for a glowing outline.
3. Composition Techniques Used by Professionals
A well-composed photo looks intentional and visually appealing. These rules will help you frame better shots.
3.1. Rule of Thirds
- Enable grid lines in your camera settings.
- Place key elements (eyes, horizon, subjects) where the lines intersect.
- Example: In portraits, position the eyes on the top third line.
3.2. Leading Lines
- Use natural or man-made lines (roads, rivers, fences) to guide the viewer’s eye.
- Works great for landscapes and urban photography.
3.3. Framing
- Shoot through doorways, windows, or foliage to create depth.
- Adds context and draws attention to the subject.
3.4. Negative Space
- Leave empty space around your subject for a minimalist look.
- Works well for portraits and artistic shots.
3.5. Symmetry and Patterns
- Perfect symmetry (reflections, architecture) is visually striking.
- Repeating patterns (stairs, tiles) create rhythm in photos.
4. Editing Your Photos Like a Pro
Even the best photos benefit from subtle edits. Here’s how to enhance your shots without overdoing it.
4.1. Best Mobile Editing Apps
- Lightroom Mobile (Best for color grading and RAW editing).
- Snapseed (Powerful selective adjustments).
- VSCO (Great presets and film-like filters).
- Adobe Photoshop Express (Advanced retouching).
4.2. Basic Edits Everyone Should Know
- Exposure & Contrast: Brighten dark areas and add depth.
- Highlights & Shadows: Recover blown-out skies or dark shadows.
- White Balance: Correct unnatural color tints.
- Sharpening: Enhance details (but don’t overdo it).
4.3. Advanced Techniques
- Selective Adjustments: Brighten just the face in a portrait.
- Color Grading: Create a cinematic look with split toning.
- Dodge & Burn: Manually lighten and darken areas for dimension.
5. Essential Accessories for Phone Photography
A few affordable tools can drastically improve your photos.
5.1. Tripods & Stabilizers
- Mini Tripods: Essential for long exposures and stable shots.
- Gimbals: Smooth movement for video and low-light photography.
5.2. External Lenses
- Wide-Angle: Expands your field of view (great for landscapes).
- Macro: Captures extreme close-ups (insects, textures).
- Telephoto: Gets closer to distant subjects (wildlife, sports).
5.3. Lighting Gear
- Portable LED Panels: Adjustable brightness for controlled lighting.
- Ring Lights: Flattering even light for portraits and selfies.
6. Common Mistakes to Avoid
- Over-Editing: Too much contrast, saturation, or filters looks unnatural.
- Ignoring the Background: Clutter distracts from the subject.
- Shooting in Low Resolution: Limits cropping and printing options.
- Not Cleaning the Lens: Fingerprints cause blurry, hazy photos.
7. Frequently Asked Questions (FAQ)
Q1: Can phone photos really look professional?
Absolutely. Many professional photographers use smartphones for social media, street photography, and even commercial work. The key is mastering lighting, composition, and editing.
Q2: How do I reduce noise in low-light photos?
- Use Night Mode if your phone has it.
- Lower the ISO and use a tripod for longer exposures.
- Edit with noise reduction tools in Lightroom or Snapseed.
Q3: What’s the best way to take sharp photos?
- Hold your phone steady or use a tripod.
- Tap to focus before shooting.
- Clean the lens regularly.
Q4: How can I make my portraits look more professional?
- Use natural light (golden hour is best).
- Blur the background (Portrait Mode or manual editing).
- Edit skin tones subtly—avoid over-smoothing.
Conclusion
Taking professional-quality photos with your phone is entirely possible if you understand your camera, use light effectively, and apply strong composition techniques. Editing refines your shots, while accessories like tripods and lenses expand your creative options.
The best way to improve? Practice constantly. Experiment with different lighting, angles, and editing styles. Over time, you’ll develop an eye for what works—and soon, your phone photos will look like they were taken by a pro.
Would you like any sections expanded further? I can add more details on specific techniques, advanced editing, or recommended gear.

